
Pry a loose chip off the window casing of an old Providence triple-decker and turn it on its edge. More often than not you will find a thin stack of colors pressed together like the rings of a tree, cream over sage over a chalky white that nobody alive remembers choosing. Around 70 percent of Rhode Island’s housing was built before 1978, the year lead was pulled from residential paint, so a huge share of homes in the state carry that same hidden stack on their trim, walls and siding.
Painters who work these houses every week, like the crew at Good Deeds Painting & Renovating Inc., tend to treat a repaint as something closer to an excavation than a color swap. Operating out of Warwick as a state licensed lead renovation firm, that team handles interiors, exteriors, cabinets and full renovations in neighborhoods where a house from 1910 is completely ordinary.
The color you pick matters far less than what is already underneath it. Those buried layers decide whether new paint grips or peels, whether prep work stays safe, and how long the finished job holds up through salt air and freeze and thaw cycles. So it helps to dig down through them one at a time, starting with the coat you can see right now.
The Surface Coat Talks If You Listen
The outermost layer on most older homes is a water based acrylic from the last few decades, and its condition works like a report card for everything below it. A powdery residue that rubs off on your hand is chalking, the normal way exterior paint ages under sun, especially on south and west walls.
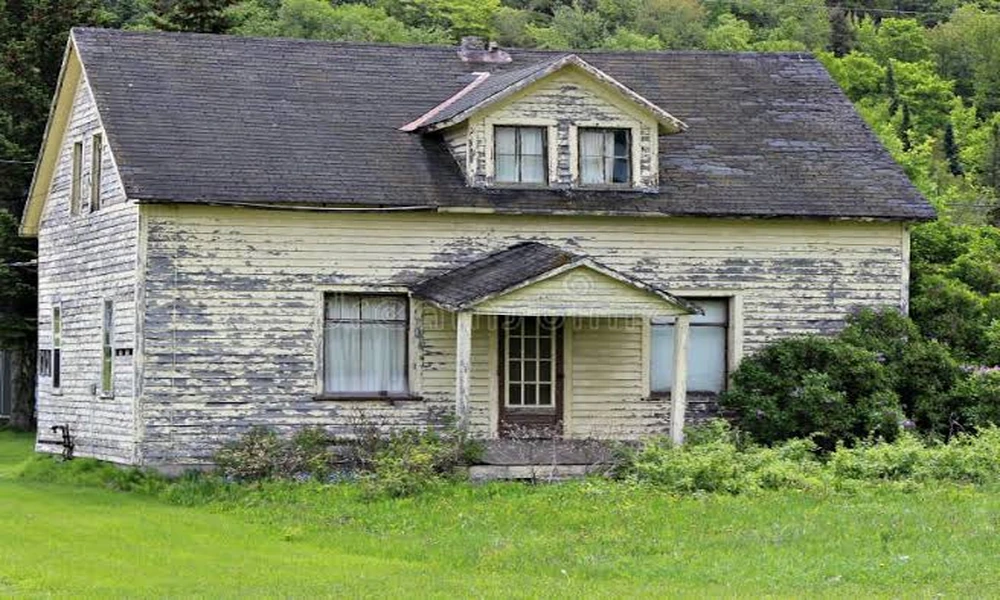
Other symptoms run deeper. A pattern of small squares, often called alligatoring, usually means layers underneath expand and shrink at different rates. Paint that lifts in sheets and leaves the previous coat clean and shiny points to a bonding failure between the two. Peeling that goes all the way down to gray wood, especially near gutters or bathrooms, is almost always moisture pushing out from inside the wall. Each one sends the job in a different direction.
An Oil Layer Is Probably Hiding in the Middle
For most of the twentieth century, trim, doors, porches and kitchens got oil or alkyd paint because it leveled smoothly and wore hard. Plenty of that glossy oil still sits beneath newer coats on sashes, baseboards and railings.
Latex brushed straight over slick oil is one of the most common reasons a fresh paint job fails within a year or two. The newer coat simply has nothing to hold on to. A quick check is to wipe a hidden spot with a cotton ball dampened in rubbing alcohol. If color comes off on the cotton, the surface is latex. If it stays put, you are looking at oil, and the surface needs cleaning, a light scuff and a bonding primer before any acrylic goes on top.
Scuffing, though, means reaching the next layer down.
The Layer Nobody Wants to Disturb
Lead paint was standard in American homes for generations, and the older the house, the higher the odds that it sits somewhere in the stack. Intact lead paint sealed under good coats is not an immediate danger by itself. The trouble begins with friction and prep. Window sashes rubbing in their tracks, doors scraping jambs and stair treads under constant foot traffic all grind off fine dust, and dry scraping or power sanding can spread that dust through a whole house in an afternoon.
That dust is invisible, settles on floors and windowsills, and is most harmful to children under six and to pregnant women. Exterior chips also settle into the soil around a foundation, right where kids play.
How Rhode Island Rules Shape the Job
Rhode Island goes further than federal rules here. Under the state’s renovation, repair and painting program run by the Rhode Island Department of Health, anyone paid to disturb paint in a pre-1978 home must work for a licensed lead renovation firm. The rule generally kicks in when a project disturbs more than six square feet per room inside or twenty square feet outside, which covers almost any real repaint. Homeowners and landlords doing their own work on these houses fall under the same rule as well.
On a compliant job, a homeowner should notice a few clear differences from an ordinary paint crew.
- Before work starts, the firm hands over the Renovate Right pamphlet, somewhere between 60 and 7 days ahead, and keeps a signed acknowledgment on file for three years.
- Certain projects, like window replacement or mechanical paint removal indoors, require the firm to notify the Department of Health at least seven days in advance.
- Work areas get sealed with plastic sheeting, and surfaces are misted before scraping so dust stays heavy and falls rather than drifting.
- Open flame burning and power sanding without a HEPA vacuum attachment are off the table.
- Cleanup involves HEPA vacuuming and wet wiping, followed by a verification step before the plastic comes down.
With a trained crew, none of this slows a project much. It mostly shows up as careful setup on day one.
Bare Wood and Old Plaster at the Very Bottom
Underneath everything sits the original material, and it is often better than people expect. Clapboards on many older New England homes were cut from dense, slow grown pine or cedar that holds up beautifully when kept sealed. Once scraped to bare wood, though, it should be primed within days, because exposed boards drink in coastal humidity and swell, and paint applied over damp wood blisters fast.
Inside, the bottom layer can hold a surprise of its own. Some old plaster ceilings were coated with calcimine, a chalky water soluble finish used long before modern latex. No paint will stick to it until it is washed away completely, which is why some ceilings keep peeling in ragged sheets.
Building the Stack Back Up
Rebuilding is the satisfying part. Bare spots get a primer matched to the surface, whether that means an oil based primer for raw cedar, a bonding primer over old gloss or a stain blocking primer over water marks. Topcoats for Rhode Island exteriors work best as flexible acrylics, since they stretch with wood as it moves through humid summers and frozen winters.
Timing counts too. Many exterior paints need temperatures around 50 degrees, with some newer formulas rated lower, and autumn mornings near the bay often bring heavy dew that ruins a wet coat. Painting from late morning to mid afternoon on dry days gives each layer its best chance to cure.
One small habit is worth adopting once the job wraps up. Write down the brands, colors and sheens used on each surface and tuck the note in a kitchen drawer. Someday another painter will scrape a chip from that same window casing and read the layers you added, and a little written history will make their work easier, safer and far more accurate than the guessing everyone before them had to do.